How to Upgrade Your Car’s Interior Lighting for Better Visibility” guides you through the simple steps to enhance your car’s interior lighting for a safer and more enjoyable driving experience. You’ll discover practical tips and handy tools that help you see better inside your vehicle, whether you’re navigating dark parking lots or finding that elusive item you dropped between the seats. Ready to see your car’s interior in a whole new light? Let’s get started!
How To Upgrade Your Car’s Interior Lighting For Better Visibility
Have you ever been frustrated because you couldn’t find something in your car at night? Poor interior lighting can be more than just an inconvenience; it can be a safety issue too. Whether you’re looking to improve visibility for practical reasons or you want to add a bit of flair to your vehicle’s interior, upgrading your car’s interior lighting can make a world of difference.
Why Upgrade Your Car’s Interior Lighting?
Improved Visibility
A primary reason to upgrade your car’s interior lighting is to improve visibility. Standard interior lights often aren’t bright enough, making it difficult to see while driving at night or finding items in the car.
Enhanced Aesthetics
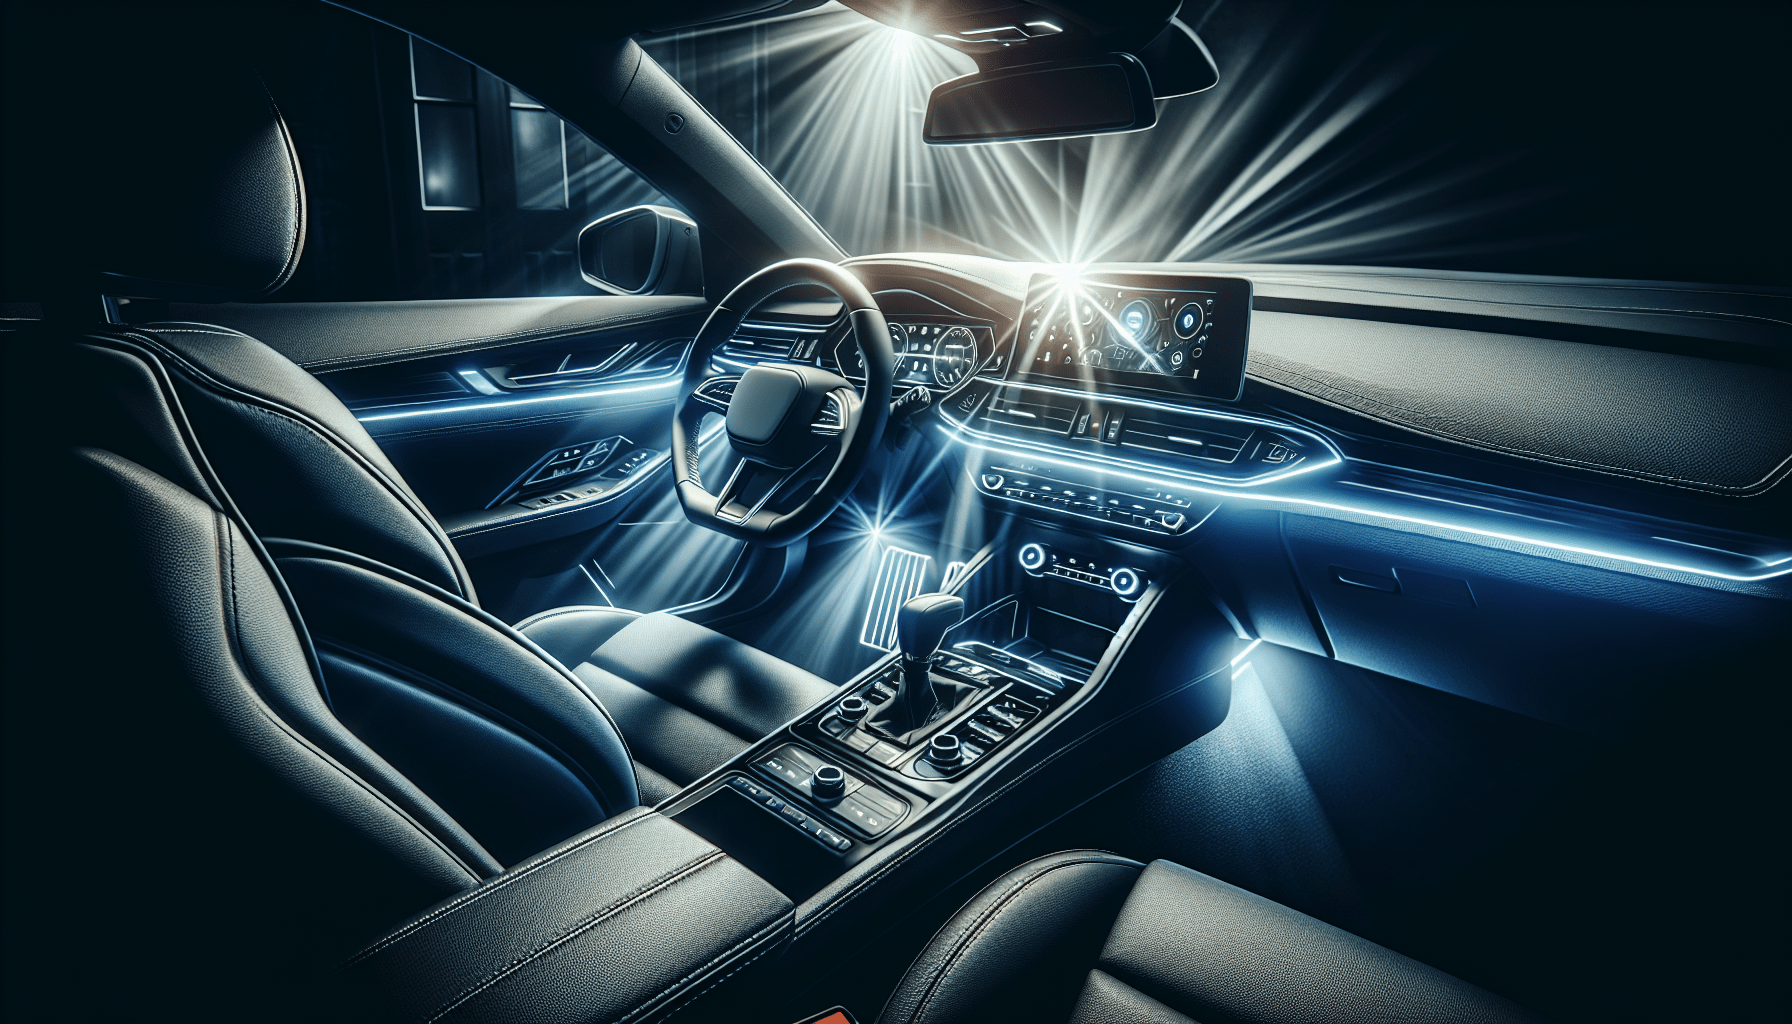
Modern interior lights come in various colors and brightness levels, allowing you to customize your car’s appearance. From sleek LED strips to attractive ambient lighting, improved interior lighting can significantly boost your car’s look.
Safety Enhancement
Better interior lighting means less strain on your eyes and fewer distractions, contributing to safer driving. It can also help when you need to find something quickly in an emergency.
Increased Resale Value
Believe it or not, upgraded lighting could increase your car’s resale value. A well-lit, modern-looking interior can make your vehicle more appealing to potential buyers.
Types of Interior Lighting Options
LED Lights
LED lights are a popular upgrade option due to their brightness and energy efficiency. They are long-lasting and come in various colors.
Pros:
- Energy-efficient
- Long-lasting
- Wide range of colors
Cons:
- Can be more expensive initially
- May require additional components for installation
Neon Lights
Neon lights can offer a unique aesthetic appeal, but they are not as bright as LEDs and consume more power.
Pros:
- Unique look
- Multiple color options
Cons:
- Less energy-efficient
- Less bright
- Higher maintenance
Halogen Bulbs
Halogen bulbs are a step up from standard incandescent bulbs, offering better brightness. However, they are less efficient than LEDs.
Pros:
- Improvement over traditional bulbs
- Affordable
Cons:
- Less energy-efficient
- Not as long-lasting as LEDs
Fiber Optic Lights
Fiber optic lights provide subtle, ambient lighting and can be customized to outline parts of the car’s interior, like door panels.
Pros:
- Subtle lighting
- Customizable
Cons:
- Installation can be complex
- May not provide as much illumination

Tools and Materials You’ll Need
Before diving into the installation process, gather all the necessary tools and materials. Here’s a handy table to help you stay organized:
| Item | Purpose |
|---|---|
| LED/Neon bulb kit | Primary lighting source |
| Screwdrivers | For removing panels and covers |
| Wire Strippers | To strip the ends of the wires |
| Electrical Tape | For securing wires and connections |
| Soldering Iron | For a more secure wiring connection |
| Zip Ties | To manage and secure loose wires |
| Trim Removal Tools | For safely removing interior panels |
| Multimeter | To test voltage and connections |
| Owner’s Manual | For locating specific components |
Step-by-Step Guide to Upgrading Your Interior Lighting
Step 1: Plan Your Lighting Setup
Before you start, it’s essential to plan where you want your new lights. Consider areas such as the dashboard, footwells, door panels, and under seating.
- Dashboard: Great for visibility and aesthetics.
- Footwells: Improves visibility and adds a nice touch.
- Door Panels: Enhances your vehicle’s look.
- Under Seats: Provides subtle ambient lighting.
Step 2: Gather Your Equipment
Having all tools and materials ready makes the installation process smoother. Refer to the table above to ensure you have everything you need.
Step 3: Disconnect the Battery
Safety first! Disconnect your car battery to avoid any accidental short circuits. This step is crucial for your safety and to protect your vehicle’s electrical system.
Step 4: Remove Necessary Panels
Use your trim removal tools to carefully remove the necessary panels. This step will allow you to access the existing wiring and install the new lights.
Step 5: Install Your New Lights
Depending on the type of lighting you’re installing, follow these general steps:
LED Strip Lights
- Measure the area where the strips will go and cut the LED strips to size.
- Use adhesive backing to place the strips.
- Connect the wiring to your car’s power source, making sure to follow the kit instructions.
Neon Lights
- Install neon tubes in the selected areas.
- Secure tubes using mounting clips.
- Connect the neon power inverter, following the kit instructions.
Fiber Optic Lights
- Install the fiber optic illuminator.
- Route the fiber cables to the designated areas.
- Secure cables and connect to the power source.
Step 6: Connect the Wiring
Use wire strippers to prepare the ends of the wires. Connect them according to the type of lighting you’re using. Follow the instructions in your specific kit for the best results.
Step 7: Test the Lighting
Before reassembling the panels, reconnect the battery and test your lights. Make sure all lights are functioning correctly.
Step 8: Secure All Wiring and Reassemble Panels
Once you’ve confirmed that everything is working, use zip ties and electrical tape to secure any loose wires. Carefully reattach all panels and screws.
Step 9: Enjoy Your Upgraded Lighting
Take a moment to appreciate your hard work. You’ve successfully upgraded your car’s interior lighting, improving both visibility and aesthetics.

Tips for Maintaining Your New Lights
Regular Cleaning
Regularly clean the lights and the surrounding areas to keep them bright and functional.
Check for Loose Connections
Periodically check for loose connections and secure them to avoid any issues with the lighting.
Monitor Battery Health
Upgraded lights can consume more power. Make sure to monitor your car battery’s health.
Common Mistakes to Avoid
Ignoring Manufacturer Instructions
Always follow the instructions provided with your lighting kit. Ignoring them can lead to improper installation and potential safety hazards.
Overloading the Electrical System
Be cautious not to overload your car’s electrical system with too many lights. This overload can cause fuses to blow and may damage your car’s electronics.
Skipping Professional Help
If you’re not confident in performing the installation yourself, seek professional help. It’s better to have it done right than to risk damaging your vehicle.

Frequently Asked Questions
How Much Does It Cost to Upgrade Car Interior Lighting?
The cost can vary widely depending on the type of lights and the extent of the upgrade. On average, you might spend anywhere from $50 to $300.
How Long Does It Take to Install New Interior Lights?
If you’re doing it yourself, it could take anywhere from a couple of hours to a whole day, depending on your experience and the complexity of the installation.
Are LED Lights Legal for Car Interiors?
Generally, interior LED lights are legal. However, make sure they do not distract you or others while driving. Laws may vary by location, so it’s best to check local regulations.
Can I Add Ambient Lighting Myself?
Yes, many ambient lighting kits are designed for DIY installation and come with detailed instructions. However, if you’re unsure, seeking professional help is always a good idea.
Conclusion
Upgrading your car’s interior lighting is a great way to improve visibility, enhance aesthetics, and increase safety. With various options like LED, neon, halogen, and fiber optic lights, you can choose what suits your taste and needs best. Follow this guide to make the process smooth and enjoyable. Remember to prioritize safety and, if in doubt, consult a professional. Happy lighting!