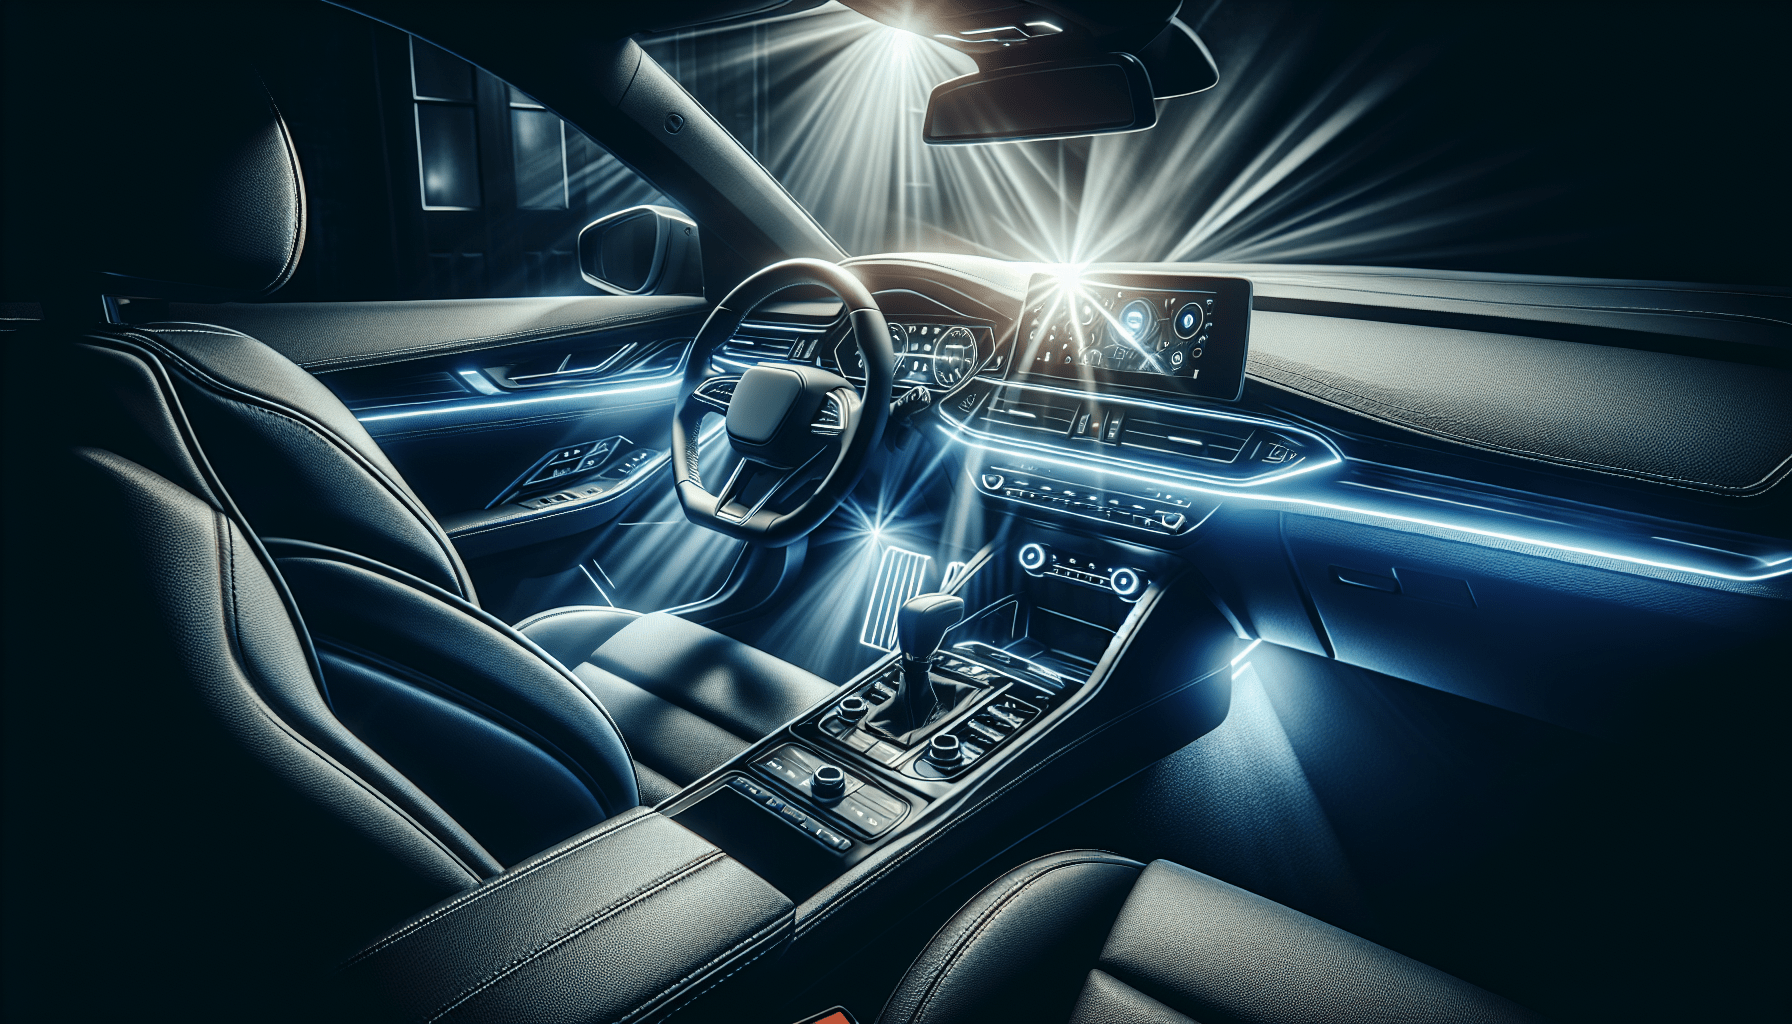
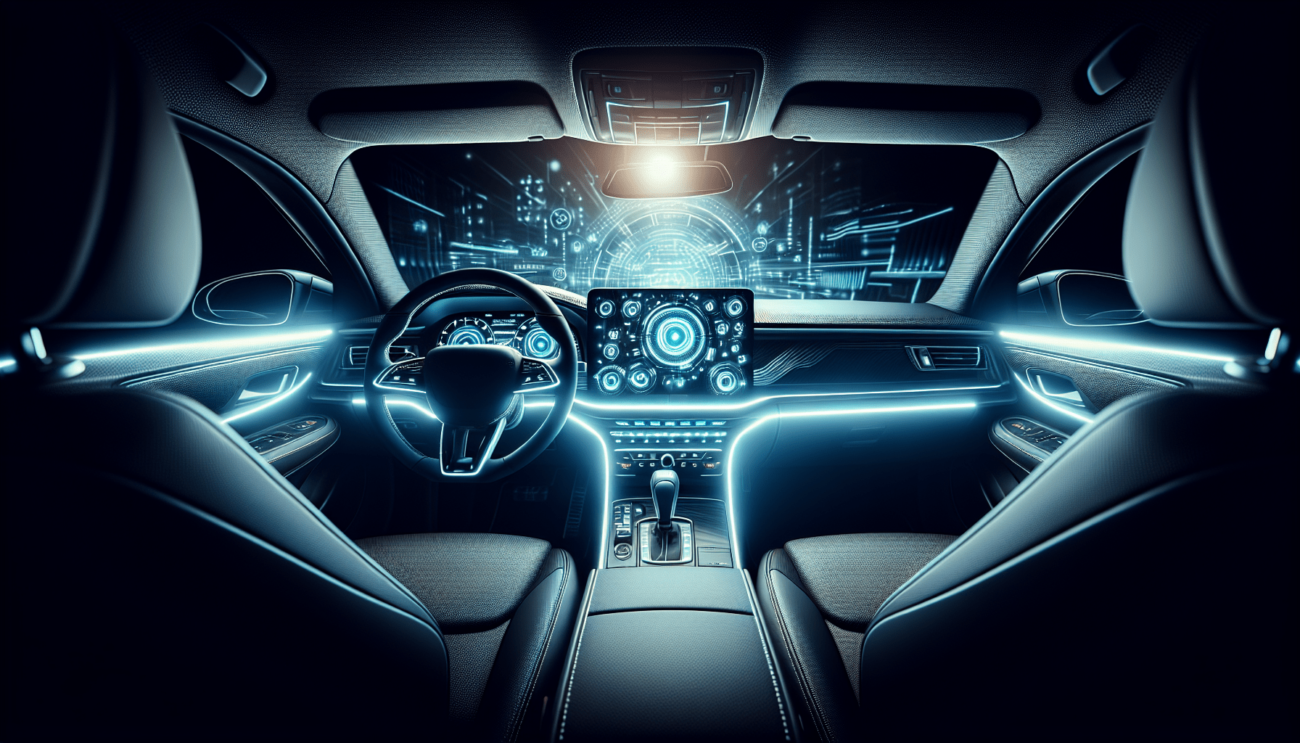
Upgrading your car’s interior lighting can make a world of difference, transforming your driving experience and enhancing visibility during night-time drives. In this article, “How to Upgrade Your Car’s Interior Lighting for Better Visibility,” you’ll learn practical and simple steps to enhance the illumination inside your vehicle. Whether it’s replacing dim bulbs with brighter LEDs or adding ambient lighting accents, each tip is designed to make your car’s interior not only more functional but also more stylish. Let’s dive in and light up your ride! Have you ever found yourself squinting inside your car, struggling to find something you need because the interior lighting just isn’t up to par? Upgrading your car’s interior lighting might be just what you need for better visibility and an overall enhanced driving experience.
Why Upgrade Your Car’s Interior Lighting?
You might wonder, why should you even bother upgrading your car’s interior lighting? The benefits are more substantial than you might think.
Enhancing Safety
Good visibility can help you quickly find important items without taking your eyes off the road for too long. This can be crucial when you need to grab something from the passenger seat or the back without compromising your or your passengers’ safety.
Improving Aesthetics
A well-lit interior can make your car look more modern and stylish. Upgrading from dim or yellowed lights to bright, clean LEDs can significantly enhance the allure of your car’s interior.
Increasing Comfort
Bright, even lighting can make your long drives more comfortable. Whether you’re reading a map, looking through your handbag, or even just setting the right mood, appropriate lighting can make all the difference.
Types of Interior Lighting
Before embarking on an upgrade journey, it’s good to understand the types of lighting you have to work with. Here’s a simple breakdown:
Table: Different Types of Car Interior Lights
| Light Type | Description |
|---|---|
| Dome Lights | General overhead lights, typically activated when doors open. |
| Map Lights | Located near the driver and passenger seats, these focus on specific areas. |
| Courtesy Lights | Placed near the footwells and doors, turning on when doors open. |
| Ambient Lights | Decorative, often multicolored, for aesthetic purposes. |
| Trunk/Cargo Lights | Located in the trunk, providing light when accessed. |
Dome Lights
These are your car’s main overhead lights and are vital for overall visibility inside the vehicle. While functional, they often don’t provide the optimal brightness you may need.
Map Lights
These focused lights are generally found around the rearview mirror and can be pivotal when you need direct light on specific areas such as maps or documents.
Courtesy Lights
Located near the footwells and doors, courtesy lights help in illuminating the ground area to prevent you from stumbling over something when entering or exiting the car.
Ambient Lights
These are more about aesthetics than functionality. Ambient lights are often customizable and give you the ability to set the interior lighting scene according to your mood or preference.
Trunk/Cargo Lights
These lights, found in the trunk or cargo area, help you find items in your storage compartment easily, making grocery trips or outdoor adventures much more convenient.
Choosing the Right Type of Lighting Upgrade
Now that you know what kind of lights exist in your car, the next step is figuring out which type suits your needs best.
LEDs vs. Halogens
While halogen lights are the traditional choice, LEDs have become increasingly popular. Here’s why:
| Type | Pros | Cons |
|---|---|---|
| LED Lights | Energy-efficient, long lifespan, bright, customizable colors | Higher initial cost |
| Halogen Lights | Lower initial cost, readily availability | Less efficient, shorter lifespan, usually dimmer |
For most users, LEDs are the obvious choice despite the higher upfront cost, simply because they offer better performance and longevity.
Color Temperature
Color temperature influences the light’s hue—choosing the right one can impact both aesthetics and visibility.
| Temperature (Kelvin) | Color | Usage Scenario |
|---|---|---|
| 2700-3000K | Warm White | Cozy, comfortable atmosphere |
| 4000-4500K | Neutral White | Balanced, accurate color visibility |
| 5000-6500K | Cool White | Sharp, clear visibility |
For most drivers, a neutral to cool white temperature is ideal for map lights and dome lights, while you might prefer warmer tones for ambient lighting to make the interior cozier.
Steps to Upgrade Your Car’s Interior Lighting
So you’ve made the decision to upgrade your interior lighting; what now? Here’s a step-by-step guide to get you started:
1. Evaluate Your Current Lighting
First, take a good look at your car’s current lighting. Identify which lights you want to replace and determine whether they’re indeed in need of an upgrade. This evaluation will also help you decide how many lights you need to purchase.
2. Choose Your Lighting Type
Using the information above, choose the type of bulbs (LED or halogen) and the color temperature that best suits your needs. Most drivers go for LED lights for their energy efficiency and brightness.
3. Purchase High-Quality Bulbs
Purchase from a reputable supplier. It might be tempting to go for cheaper, off-brand options, but high-quality bulbs will offer better performance and longevity. Look for brands with good reviews and reliable warranties.
4. Prepare Your Tools
To upgrade your car’s interior lights, you’ll generally need the following tools:
- A screwdriver set
- A trim removal tool
- Your replacement bulbs
- Gloves (to keep from touching the LEDs, which can affect performance)
5. Remove the Old Bulbs
Carefully remove the old bulbs from their sockets. You might need to remove parts of the car’s interior trim, so proceed gently to avoid breaking anything. Use the screwdriver and trim removal tools as needed.
6. Install the New Bulbs
Install the new bulbs in the same manner as the old ones. Ensure they fit securely and check that all the connections are tight. After they are installed, they should light up with the new bulbs without any flickering or intermittent connections.
7. Test Your New Lighting
Before putting all the trim pieces back, test your new lights. Ensure they are all working correctly and illuminating the spaces as expected. It’s better to find out now if there are issues rather than after you’ve reassembled everything.
8. Reassemble Everything
Once you’ve confirmed all the new bulbs are working perfectly, reassemble any trim or covers you removed during the process.
Special Considerations
There are a few special considerations you should keep in mind when upgrading your car’s interior lighting.
Checking Compatibility
Not all bulbs are universal; therefore, make sure the bulbs you purchase are compatible with your car model. Refer to your vehicle’s manual or consult with the supplier to make sure you’re getting the correct type.
Legal Considerations
In some areas, there are strict regulations regarding the brightness and color of car interior lighting. Ensure that your upgrades comply with local laws to avoid fines or other legal issues.
Electrical Load
Make sure your car’s electrical system can handle the new load, especially if you’re adding additional lights. While LEDs generally consume less power, it’s always good to double-check.
How to Maintain Your Upgraded Lighting
Once you’ve upgraded your lights, you’ll want to keep them in tip-top shape. Here are a few maintenance tips:
Regular Cleaning
Dust and grime can reduce the efficiency of your lights. Regularly wiping them down with a suitable cleaner can help keep them shining bright.
Check for Loose Connections
Even the best lights can fail if connections come loose. Periodically check that all connections are still tight and secure.
Monitor Performance
Keep an eye out for dimming or flickering, which can indicate it’s time for a replacement or there’s an underlying issue that needs attention.
Use the Right Settings
If you’ve opted for adjustable or color-changing lights, always use the settings as recommended by the manufacturer. Overdriving the lights at excessively high brightness or using inappropriate color settings can shorten their lifespan.
Real-Life Success Stories
It’s encouraging to read about others who’ve taken the plunge and upgraded their car’s interior lighting. Here are a couple of success stories:
Sarah’s Experience
Sarah loved going on road trips but found her car’s interior lighting sorely lacking. She decided to upgrade all her interior bulbs to LED. The result was phenomenal. Not only did the new lighting make it easier to find items in her car, but the cool white lights also made the car look more modern and appealing.
Mark’s Journey
As an avid tech enthusiast, Mark was interested in both functionality and aesthetics. He replaced his dull map lights with bright LED ones and added customizable ambient lighting to his car’s interior. Now, he enjoys night drives more than ever and often receives compliments from his friends for the impressive lighting setup.
Conclusion
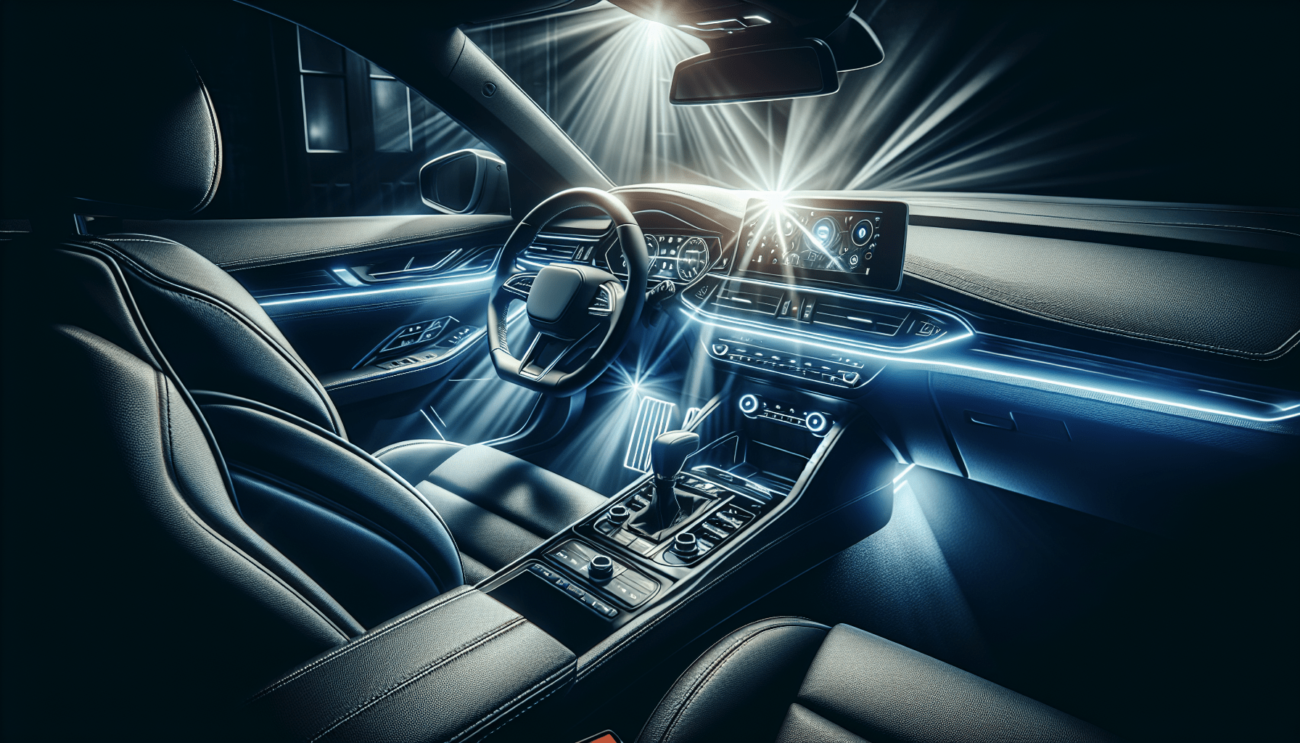
Upgrading your car’s interior lighting can vastly enhance your driving experience by improving visibility, safety, and aesthetics. With a bit of planning and the right tools, it’s a relatively straightforward project that you can complete yourself. From choosing the right type of lights to following through with the installation process, this guide provides you with all the necessary steps for a successful upgrade. Happy upgrading, and enjoy the newfound brightness in your car!


