How to Install a Custom Car Shifter” is your go-to guide for upgrading your vehicle with a personalized touch. You’ll find step-by-step instructions to seamlessly install a custom shifter in your car, whether you are a seasoned mechanic or a DIY enthusiast. From gathering the right tools to making sure everything’s fitted perfectly, this friendly walkthrough ensures you’ll navigate the process with ease. Put your own spin on your driving experience and enhance both style and performance with your new custom car shifter. Have you ever wanted to change up the look and feel of your car’s interior by installing a custom car shifter? Not only does a custom shifter add a personal touch, but it can also improve the overall driving experience. In this article, we’ll guide you through every step of the process, ensuring you have a smooth and successful installation. So, let’s dive in and learn how to install a custom car shifter!
Understanding the Basics
What is a Car Shifter?
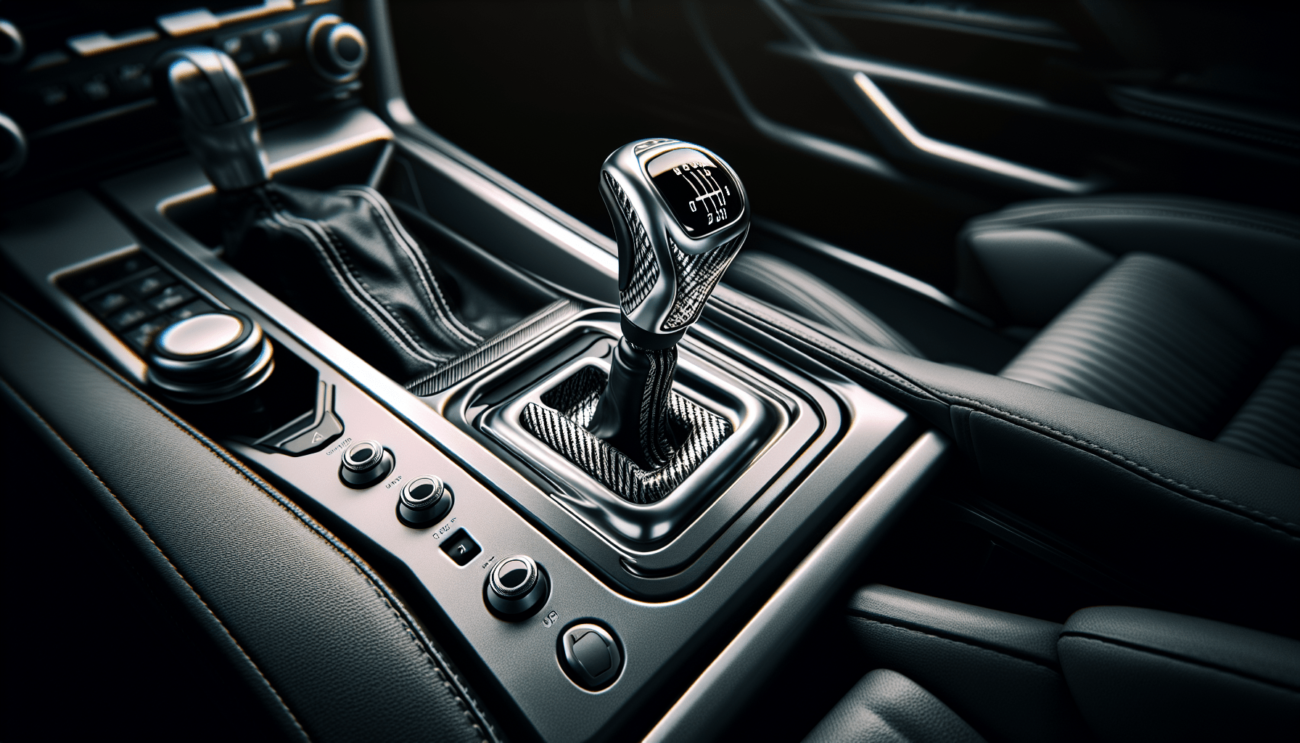
A car shifter is the mechanism that allows you to change gears in your vehicle. It’s an essential component for manual transmission cars and is typically located between the front seats. Automatic cars also have shifters but they function differently.
Why Install a Custom Shifter?
Upgrading to a custom shifter can enhance your driving experience in several ways:
- Aesthetic Appeal: It adds a unique and stylish touch to your car’s interior.
- Improved Ergonomics: A custom shifter can be more comfortable to use.
- Better Performance: Some shifters are designed to shorten the throw, making gear changes quicker and smoother.
Tools You’ll Need
Before you start the installation, gather all necessary tools and materials. Here’s a list to get you started:
| Tool | Purpose |
|---|---|
| Wrenches and Sockets | To remove bolts and nuts |
| Screwdrivers | To remove screws |
| Pliers | For gripping and holding parts |
| Thread locker | To secure bolts and prevent loosening |
| Gloves | To protect your hands |
| Allen Wrenches | For different types of screws |
| Rubber Mallet | For gentle tapping without causing damage |
| Gear Puller | For removing stubborn parts like the stock shifter knob |
Preparation Work
Removing the Stock Shifter
-
Disconnect the Battery: To avoid any electrical issues, start by disconnecting your car battery.
-
Remove the Shifter Knob: Most shifter knobs are threaded or held in place by a set screw. Use the appropriate tool to remove it.
-
Remove the Shifter Boot: The shifter boot is usually attached with clips or screws. Carefully remove it to expose the shifter mechanism.
-
Disconnect the Linkage: Depending on your car model, you might need to disconnect linkage cables. Refer to your vehicle’s service manual for specific instructions.
Inspecting the New Shifter
Before you install the new shifter, make sure it’s the correct one for your vehicle. Check for any defects or missing parts. Read the manufacturer’s instructions thoroughly.
Installation Process
Install the New Shifter
Follow these steps to install your new shifter:
-
Position the New Shifter: Place the new shifter in the same position as the old one. Make sure it fits properly.
-
Secure the Shifter: Use the bolts and nuts provided with your new shifter to secure it. Apply thread locker to prevent them from loosening over time. Tighten them firmly, but be careful not to overtighten.
-
Reconnect the Linkage: Reattach any linkage cables or components. Ensure they are properly connected and adjusted.
-
Test the Mechanism: Move the shifter through all gear positions to ensure it operates smoothly and correctly.
Reinstall the Shifter Boot and Knob
-
Reattach the Boot: Put the shifter boot back in place and secure it with clips or screws.
-
Install the New Knob: Screw or attach the new shifter knob onto the shifter stem. Make sure it’s properly tightened.
Reconnect the Battery
Once everything is in place, reconnect your car battery. Turn on your car and test the shifter to ensure everything works perfectly.
Common Issues and Solutions
Problem: Shifter Feels Loose
- Solution: Check all bolts and nuts to ensure they are properly tightened. Apply thread locker if necessary.
Problem: Difficulty in Changing Gears
- Solution: Ensure the linkage is properly connected and adjusted. Refer to the vehicle’s service manual for specific instructions.
Problem: Unusual Noises
- Solution: Inspect the installation to make sure no parts are rubbing or interfering with each other.

Tips and Tricks
Tip: Use Quality Parts
Investing in high-quality parts will ensure a longer-lasting and better performing shifter.
Tip: Keep Your Workspace Organized
Keep your tools and parts organized. This will save you time and make the installation process smoother.
Tip: Refer to the Manual
Always refer to the manufacturer’s instructions and your vehicle’s service manual. They will provide specific details relevant to your car model.
Conclusion
Congrats, you’ve successfully installed a custom car shifter! Whether you did it for aesthetic reasons, improved comfort, or better performance, you can now enjoy the benefits every time you drive. We hope this guide was helpful and that you’re pleased with your new setup. If you encounter any issues, remember to consult your vehicle’s service manual or reach out to a professional for assistance.
Happy driving!


