Blog
How To Upgrade Your Car’s Exhaust Manifold

Upgrading our car’s exhaust manifold can seem daunting, but with the right steps, it’s a task we can tackle with confidence. In this guide, we’ll walk through everything we need to know, from understanding the benefits of a new manifold to the tools required and the step-by-step process of the installation. We’ll cover tips and tricks to ensure the upgrade goes smoothly, enhancing our vehicle’s performance and making our driving experience more exhilarating. Join us as we rev up for this exciting and empowering car project! Have you ever wondered how you can get more performance, sound, and efficiency from your car? Often, the answer lies in upgrading one of the more underrated parts of your vehicle’s exhaust system: the exhaust manifold. Upgrading your exhaust manifold can have a significant impact on your car’s overall performance. But where do we start? Let’s dive into the world of exhaust manifolds and explore how we can make our ride better.
Why Upgrade Your Car’s Exhaust Manifold?
The exhaust manifold serves as the junction where the exhaust gases from the engine’s cylinders collect before being directed out through the exhaust system. Often, factory-fitted exhaust manifolds are made from heavy cast iron and have a somewhat restrictive design.
Performance Gains
One of the most compelling reasons to upgrade your exhaust manifold is the noticeable performance gains. A more efficient design means better exhaust gas flow, which translates into more horsepower and torque for our engine.
Improved Fuel Efficiency
With better exhaust flow, our engine doesn’t have to work as hard to expel exhaust gases, leading to more efficient combustion. This can result in improved fuel economy.
Enhanced Sound
Who doesn’t love the sound of a roaring engine? Upgrading our exhaust manifold can dramatically improve the exhaust note, giving our vehicle a more aggressive and satisfying sound.
Reduced Weight
Factory exhaust manifolds are often made of heavy materials like cast iron. Upgrades typically use lighter materials, helping reduce the overall weight of the vehicle, which can also improve performance.
Types of Exhaust Manifolds
When it comes to upgrading our exhaust manifold, it’s essential to know the different types available on the market. Generally, there are two main types: cast iron manifolds and tubular headers.
Cast Iron Manifolds
These are the kind of exhaust manifolds that come standard with most vehicles. While durable, they are heavy and can be restrictive in terms of airflow.
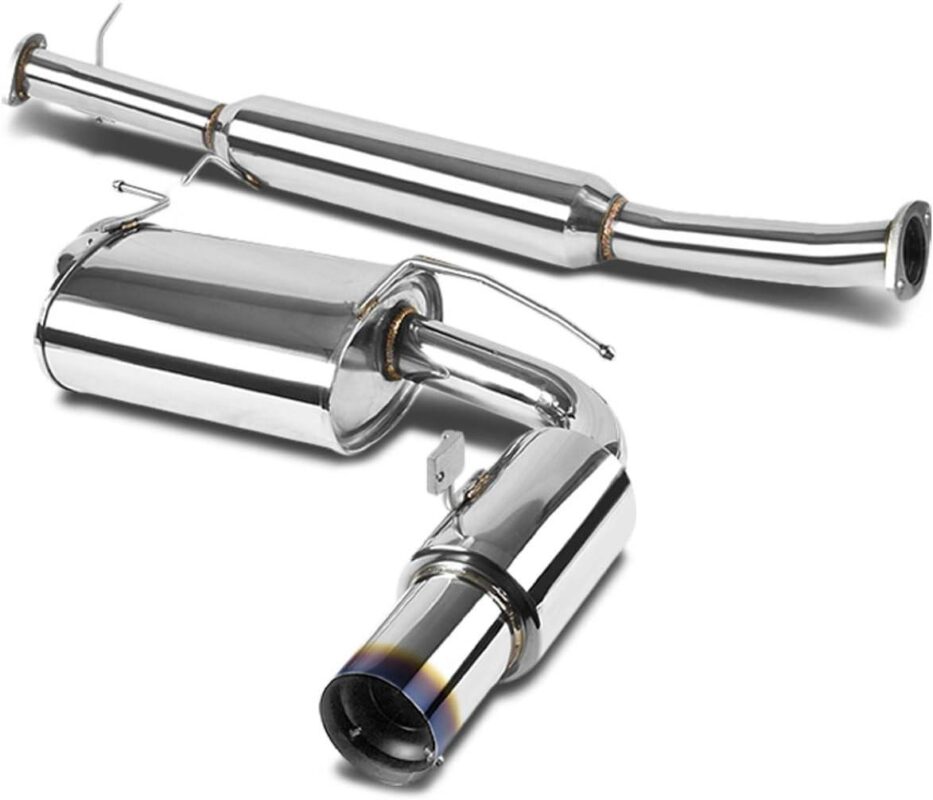
Tubular Headers
Tubular headers are more advanced and come in a variety of configurations such as short-tube and long-tube headers. These are generally made from stainless steel, aluminum, or other high-performance materials.
| Type | Material | Durability | Performance | Weight |
|---|---|---|---|---|
| Cast Iron | Cast Iron | High | Low | Heavy |
| Short-Tube | Stainless Steel | Moderate | Moderate | Light |
| Long-Tube | Stainless Steel | Moderate | High | Light |
Short-Tube Headers vs. Long-Tube Headers
Short-tube headers are generally easier to install and are better suited for casual driving and mild performance upgrades. Long-tube headers, however, offer more significant performance gains and are ideal for high-performance setups.

Tools and Materials You’ll Need
So, we’ve made up our minds to upgrade our exhaust manifold. Great! But before we start, let’s gather all the tools and materials we’ll need.
Tools
- Socket Set – Useful for removing and re-fitting bolts.
- Wrenches – Both open-end and adjustable to handle various bolt sizes.
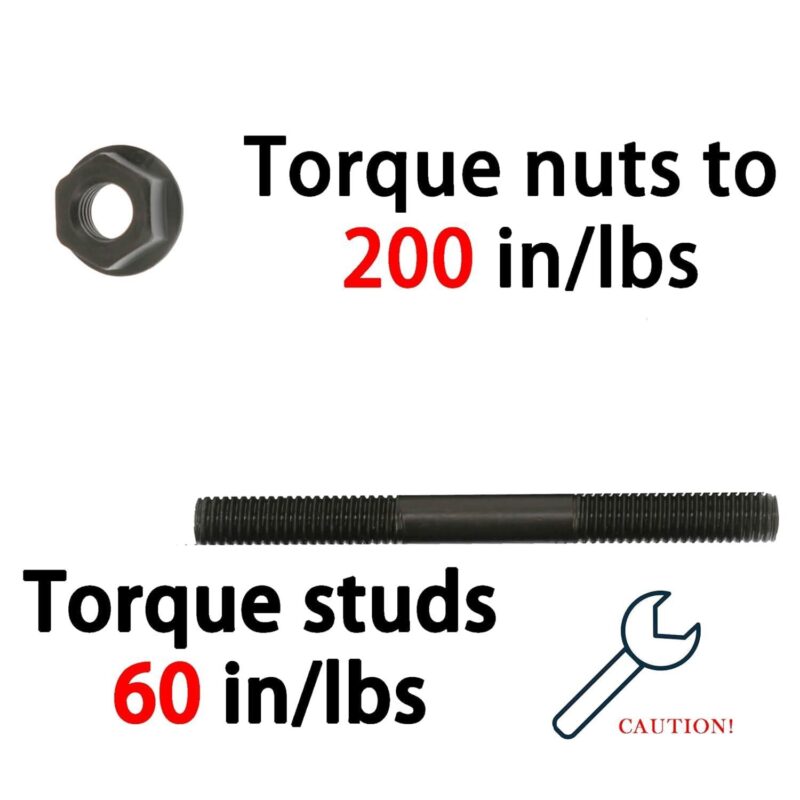
- Torque Wrench – To ensure bolts are tightened to the manufacturer’s specifications.
- Pry Bar – Useful for loosening the old exhaust manifold.
- Jack and Jack Stands – For lifting and safely supporting your vehicle.
Materials
- New Exhaust Manifold or Headers – Preferably pre-assembled for easier installation.
- Gaskets – Always use new gaskets to ensure a tight seal.
- Exhaust Manifold Bolts – These should be new to ensure maximum durability.
- Anti-Seize Compound – For applying to the bolts to prevent them from sticking in the future.
Step-by-Step Guide to Upgrading Your Exhaust Manifold
Now that we have all our tools and materials ready, let’s get down to the nitty-gritty. Follow these steps to successfully upgrade your car’s exhaust manifold.
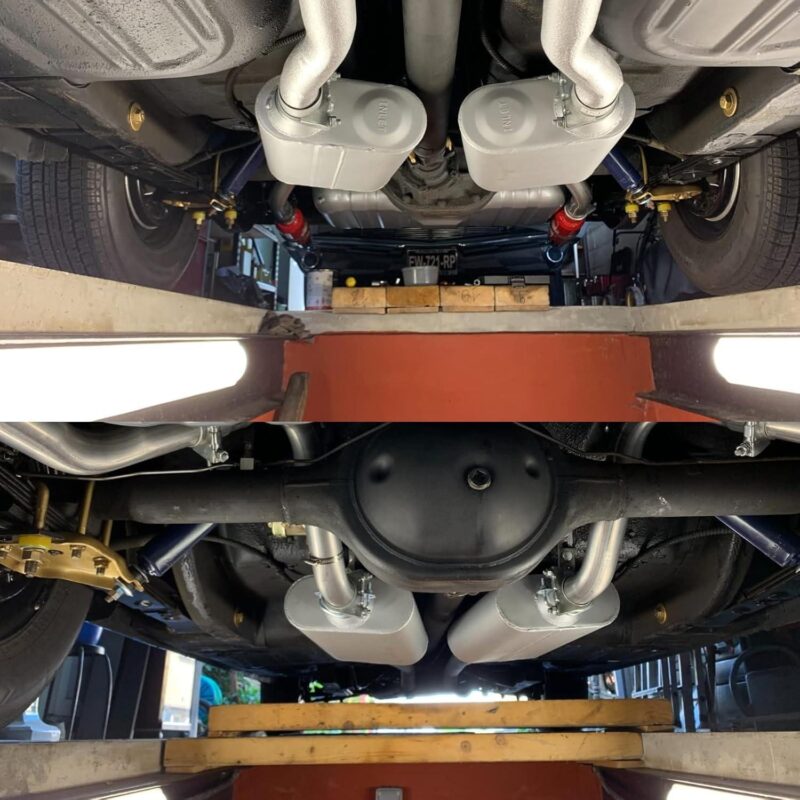
Step 1: Prepare Your Vehicle
- Safety First – Ensure your vehicle is parked on a flat surface and securely lifted using jack stands.
- Disconnect the Battery – This will prevent any electrical accidents while working.
Step 2: Remove the Old Exhaust Manifold
- Remove the Heat Shield – Most factory manifolds have a heat shield that needs to be removed first.
- Disconnect the Oxygen Sensors – Carefully disconnect them to avoid damage.
- Remove the Bolts – Using your socket set and torque wrench, carefully remove the bolts holding the exhaust manifold in place.
- Pry Off the Manifold – Use the pry bar, if necessary, to loosen and remove the old exhaust manifold.
Step 3: Clean the Mounting Surface
Before installing the new exhaust manifold:
- Clean the Surface – Use a gasket scraper to remove any old gasket material and ensure the surface is clean and smooth.
- Apply Anti-Seize Compound – Apply a small amount to the bolts to facilitate future removal.
Step 4: Install the New Exhaust Manifold
- Fit New Gaskets – Place the new gaskets on the cleaned mounting surface.
- Install the Manifold – Position the new exhaust manifold and hand-tighten the bolts to hold it in place.
- Tighten the Bolts – Use the torque wrench to tighten the bolts to the manufacturer’s specifications.
Step 5: Reconnect All Components
- Reattach the Oxygen Sensors – Carefully reattach the oxygen sensors to the new exhaust manifold.
- Reinstall the Heat Shield – Ensure it is securely fastened.
Step 6: Test the Installation
- Reconnect the Battery – Once everything is securely in place.
- Start the Engine – Allow it to run and check for any leaks or unusual sounds.
- Take a Test Drive – Confirm that the upgrades are performing as expected.

Troubleshooting Common Issues
Even with the best preparation, issues can arise. Here are some common problems and how to resolve them.
Issue 1: Exhaust Leaks
If you hear a hissing sound or smell exhaust fumes, you likely have a leak.
- Solution: Check the gaskets and ensure all bolts are tightened to the correct specifications.
Issue 2: Poor Performance
If you notice a drop in performance rather than an improvement, something might be amiss.
- Solution: Double-check the installation, ensuring there are no obstructions and that the oxygen sensors are properly reconnected.
Issue 3: Check Engine Light
If the check engine light comes on after the installation, it could be related to a sensor.
- Solution: Use an OBD-II scanner to check for error codes and address them accordingly.
Maintenance Tips
Upgrading the exhaust manifold is not a one-time, set-it-and-forget-it job. Regular maintenance ensures longevity and peak performance.
Inspect Regularly
Regularly inspect the manifold and related components for signs of wear or leaks. This can help catch potential issues early before they become bigger problems.
Keep It Clean
Dirt and grime can accumulate on the manifold, potentially causing overheating. Periodically clean the manifold to keep it in good shape.
Use Quality Fuels
Using high-quality fuels can reduce the buildup of carbon deposits on your exhaust components, including the manifold.
Cost Considerations
Before embarking on this project, it’s a good idea to get a sense of the costs involved. Prices can vary widely depending on the type of manifold and the complexity of the installation.
Manifold Costs
| Type | Expected Cost |
|---|---|
| Cast Iron | $100 – $300 |
| Short-Tube | $150 – $400 |
| Long-Tube | $300 – $1,000+ |
Labor Costs
If we decide to have a professional install the exhaust manifold, labor costs can add an additional $200-$500 depending on the garage’s rates and the complexity of the job.
Environmental Considerations
Upgrading our exhaust manifold can also have environmental benefits. Improved exhaust flow means the engine runs more efficiently, often resulting in lower emissions. However, it’s essential to ensure the new manifold complies with local emissions regulations to avoid any legal issues.

Conclusion
Upgrading your car’s exhaust manifold is a rewarding project that can significantly enhance your vehicle’s performance, sound, and efficiency. It might seem daunting at first, but with the right tools, materials, and a step-by-step approach, it’s a task we can handle ourselves. So why not give it a try and enjoy the benefits of a better-performing car?
By being methodical, understanding the different types available, and following a step-by-step guide, we can make an informed decision and tackle the installation process with confidence. Happy upgrading!
If you’ve enjoyed this guide and found it helpful, share it with fellow car enthusiasts. Let’s make our rides better, one upgrade at a time!
Related Posts
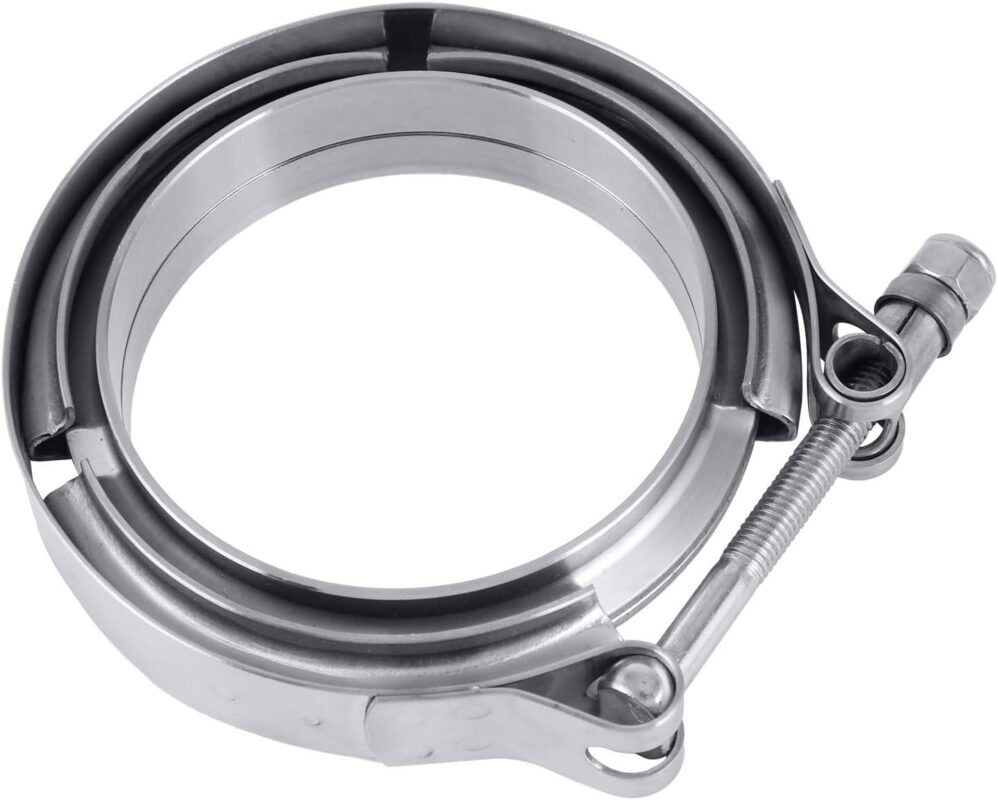
Turbo-Ready V-Band Clamps: Exhaust Power Unleashed!
Ultimate Engine Power: High-Performance Head Studs Kit!
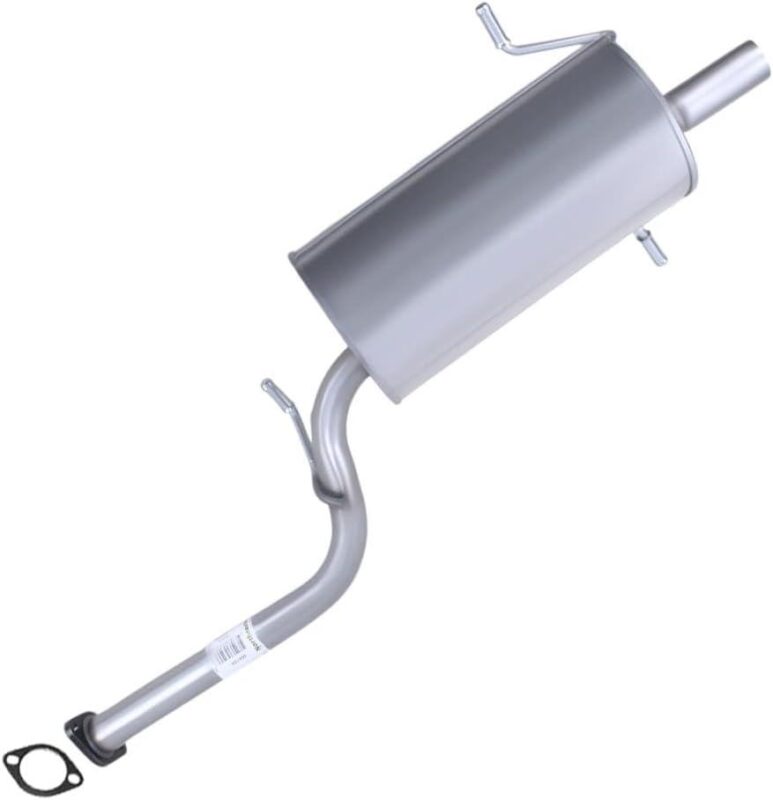
Subaru Forester Muffler: Stainless Steel Power Boost!
Miata Exhaust Upgrade: Unleash Your Ride’s Roar!
Boost Your Ford’s Performance: K&N Fuel Filter Magic!
Are you ready to unleash your Ford's hidden potential? We've discovered the game-changing K&N Fuel Filter that transforms your ride's performance from ordinary to extraordinary! This premium PF-2000 model isn't just another filter - it's a precision-engineered guardian for your engine, meticulously designed for Ford, Lincoln, and Mercury fuel-injected gasoline engines spanning from 1996 to 2017. Unlike standard filters that restrict flow, this K&N marvel maximizes fuel delivery, ensuring your engine breathes easier and performs stronger. We were blown away by its advanced filtration technology that traps microscopic contaminants while maintaining optimal fuel pressure. Installation is a breeze, and the performance gains are immediate - smoother acceleration, enhanced throttle response, and improved overall engine efficiency. For serious Ford enthusiasts seeking that perfect blend of protection and performance, the K&N PF-2000 is our top recommendation!
Unleash the Roar: 3″ Universal Muffler Magic

Boost Your Ranger’s Sound: Walker SoundFX Muffler Magic!
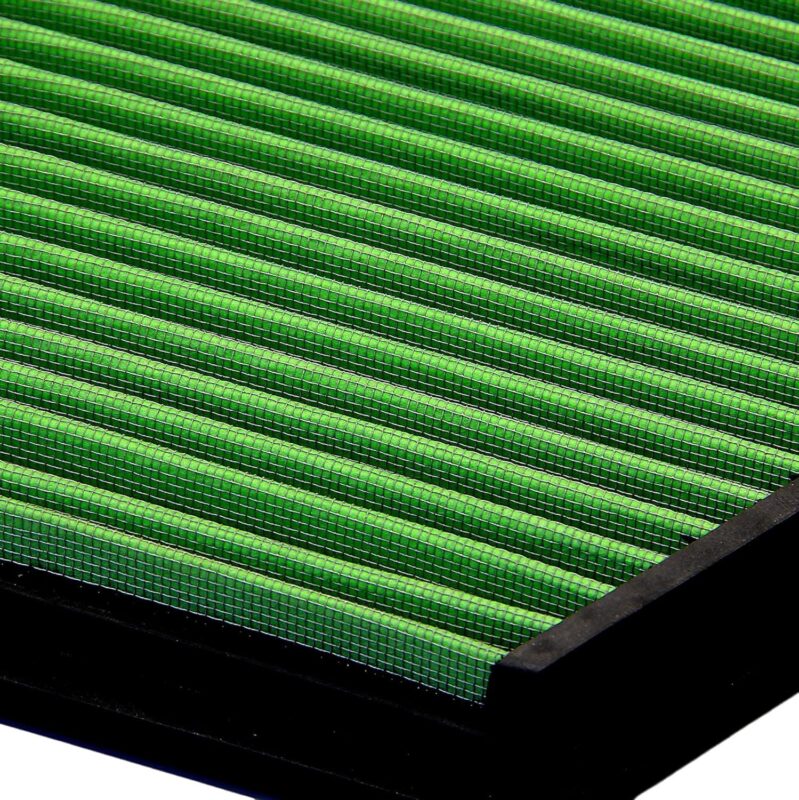
Boost Your Lexus: AG-2452 Performance Air Filter!
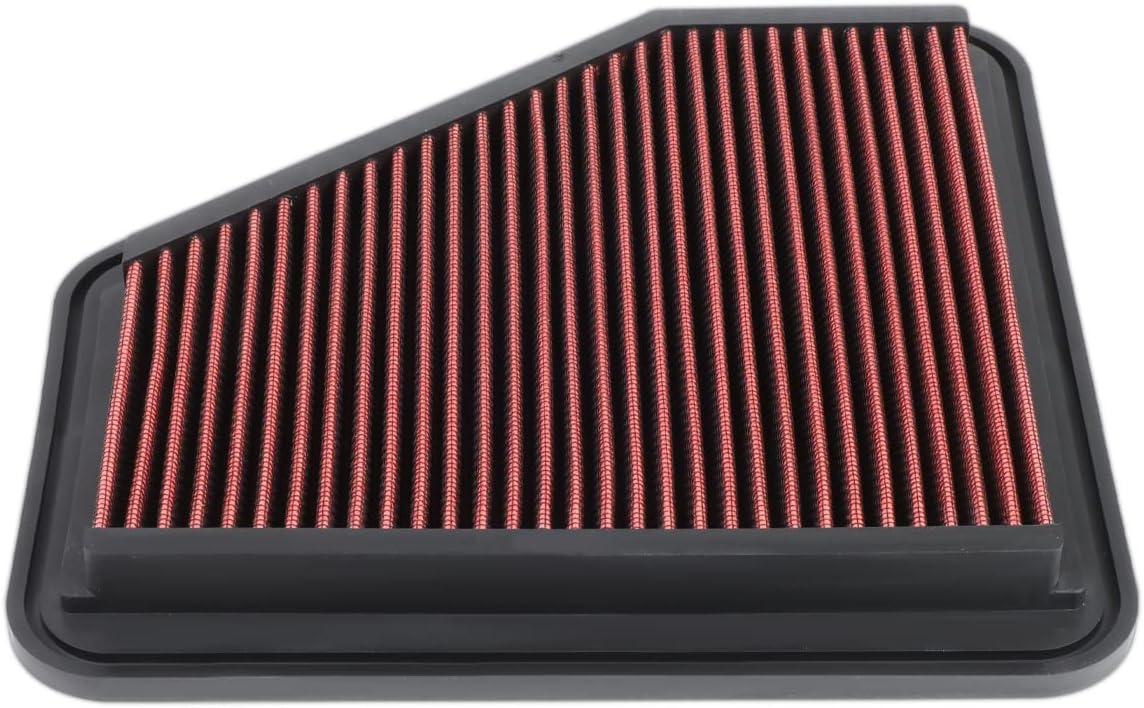
Boost Your Rav4’s Power with One Simple Swap!
Looking to unleash your Rav4's hidden potential? We discovered the DNA Motoring air filter that's a total game-changer for performance enthusiasts. This drop-in panel filter is like a breath of fresh air for your Toyota, designed specifically for 2.4L, 3.5L, and 2.5L models from 2006-2012. Forget complicated upgrades-this simple swap delivers instant results. We were amazed by the noticeable boost in acceleration and engine responsiveness. The washable design means you're not just improving performance, but also saving money on replacements. Installation is a breeze, and you'll feel the difference from the first drive. Whether you're a weekend warrior or daily commuter, this air filter transforms your Rav4's breathing system, delivering cleaner airflow and enhanced power. Trust us, this is one modification you won't regret.
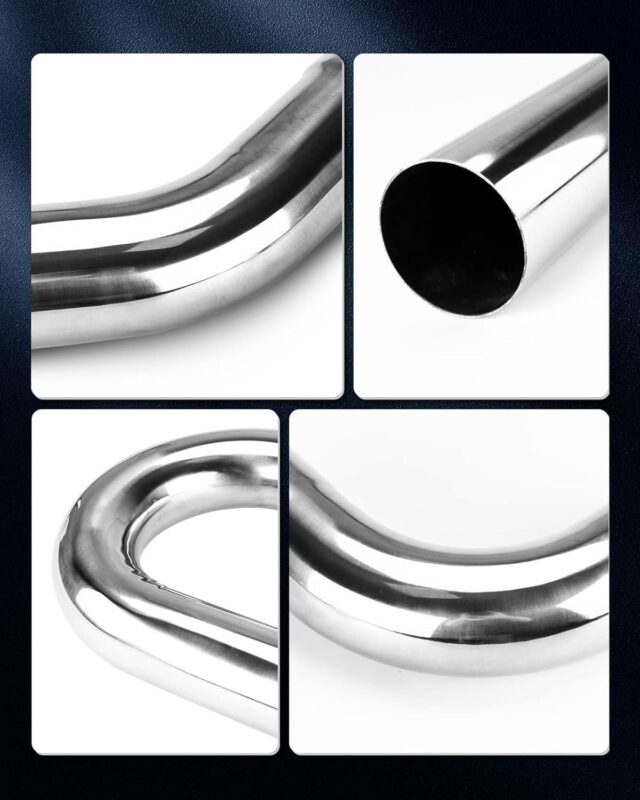
DIY Exhaust Magic: Transform Your Ride’s Sound!
DIY Exhaust Magic: Transform Your Ride's Sound!
We've discovered the ultimate game-changer for automotive enthusiasts: the PHILTOP 2.25" Exhaust Kit. This incredible 16-piece mandrel bend pipe set is a dream for DIY mechanics looking to customize their ride's sound and performance. The universal design means it fits most vehicle configurations, and the mild steel construction promises durability that'll make gearheads swoon. What sets this kit apart is its precision - each pipe is carefully crafted with mandrel bends that ensure smooth airflow and minimal resistance. Whether you're aiming for a subtle growl or an aggressive roar, this kit gives you the flexibility to create the exhaust system of your dreams. Installation is straightforward, and the quality of these pipes will make your garage project feel like a professional-grade modification.